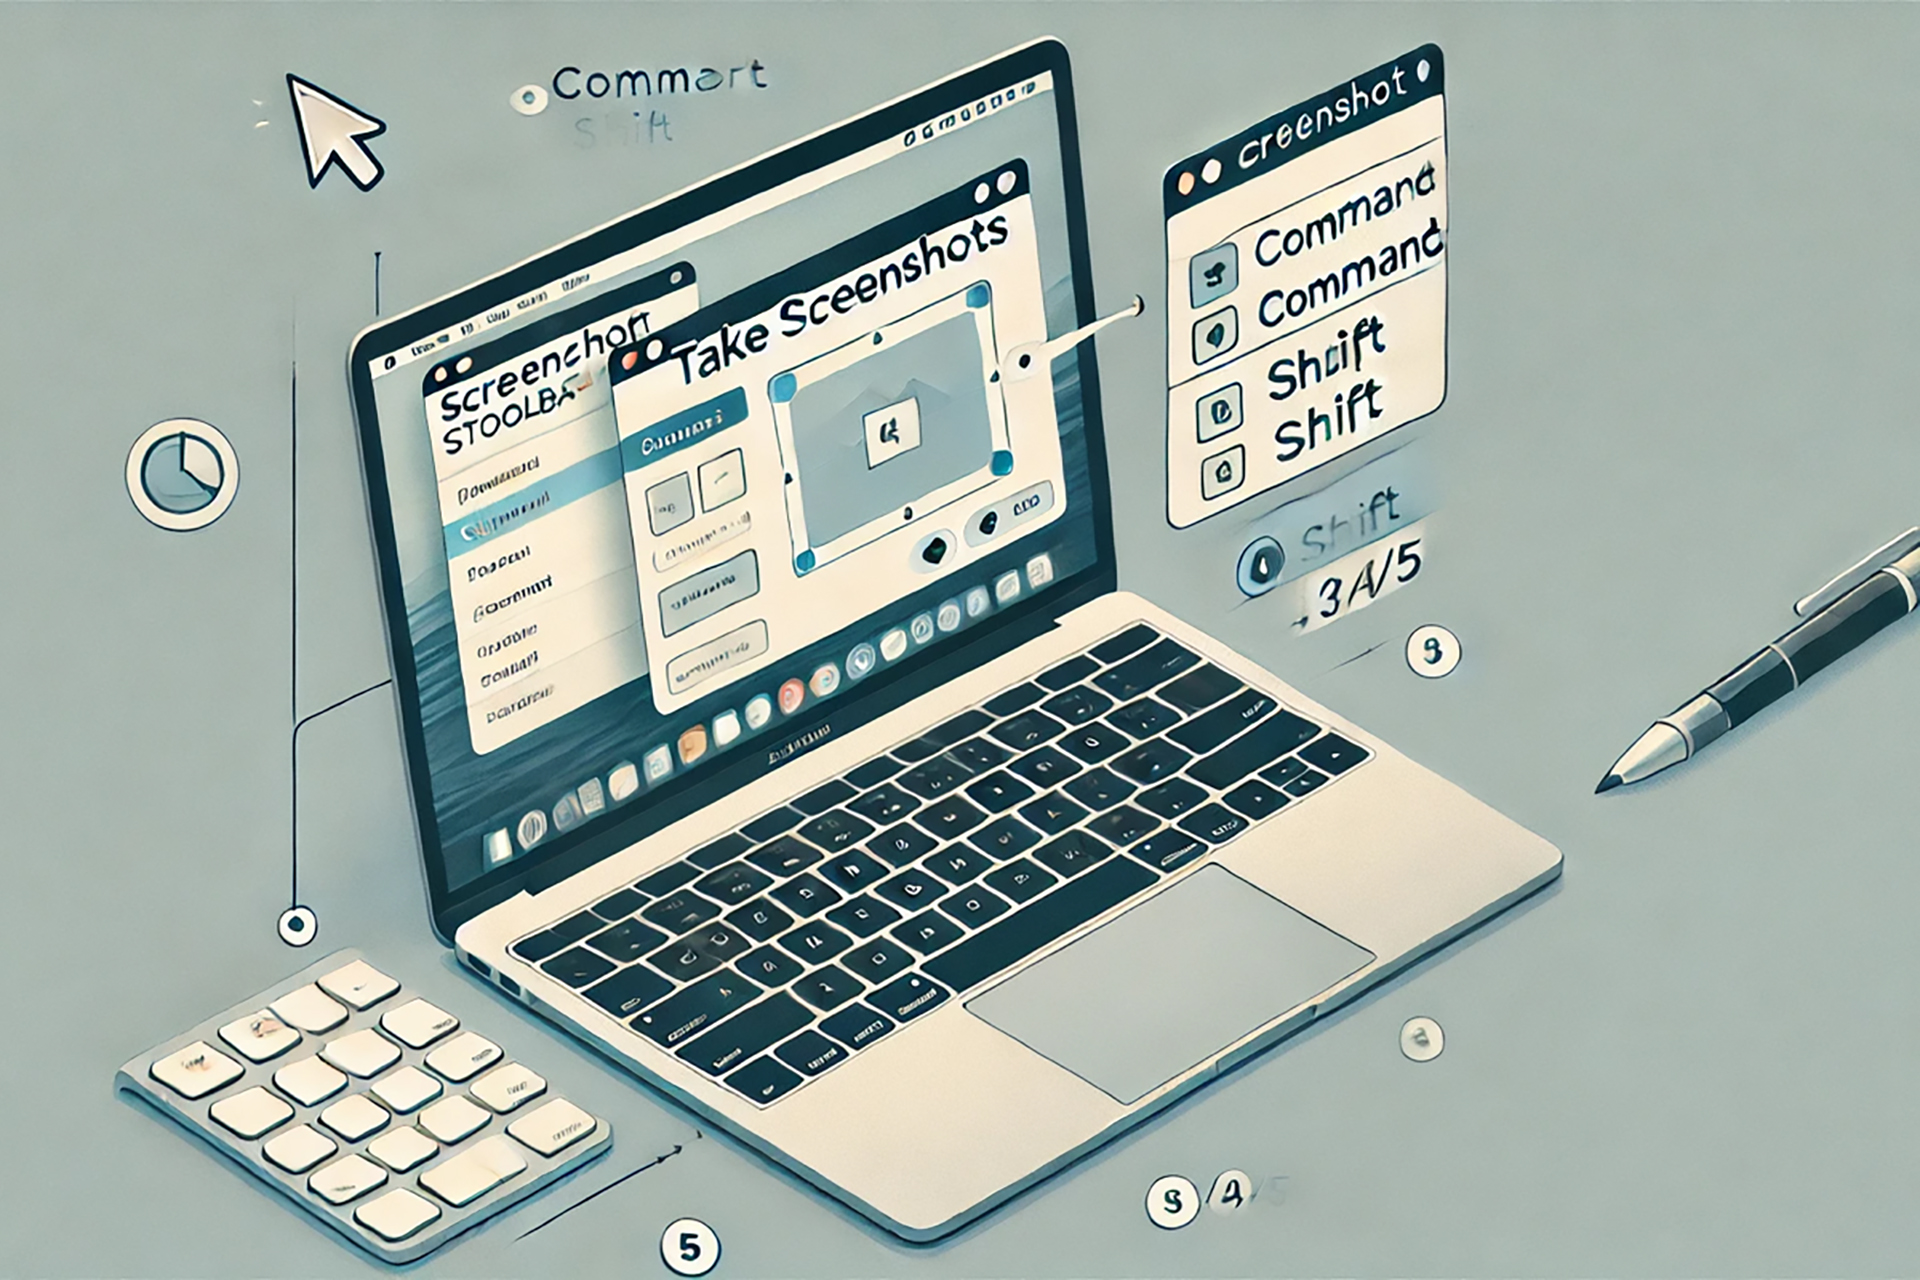
Taking screenshots on a Mac is a straightforward process, but the method you use depends on what you want to capture. Whether you’re looking to save an image of your entire screen, a specific window, or a selected portion, macOS offers several built-in options. This guide will walk you through each method step by step.
1. Capture the Entire Screen
To capture everything visible on your screen:
1. Press Command (⌘) + Shift + 3.
2.The screenshot will be saved automatically to your desktop as a .png file with the date and time in the filename.
2. Capture a Selected Portion of the Screen
To take a screenshot of a specific area:
1. Press Command (⌘) + Shift + 4.
2.Your cursor will change to a crosshair.
3.Click and drag to select the area you want to capture.
4.Release the mouse or trackpad to take the screenshot.
5.The file will be saved to your desktop.

0 Comments